Showing posts with label tutorials. Show all posts

Thursday, February 09, 2012

Step By Step

Okay, friends from the '90s, try to convince yourself that you DIDN'T just start singing this song:


Hee hee - I just watched it again and it brought back so many memories! Did you notice the before-he-was-noticed celebrity that briefly made an appearance at 3:44?? :D

Anyhow, I wanted to share a cute project that Aili and I created for my step-by-step (oooh, baby!) tutorial on the myStamp BOX blog today!  So easy and a fun project for the kids!


Supplies used:  Recollections cardstock; myStamp BOX stamps (Holiday Monkey, Sigh Gush Gasp, Border Lines); Shrinky Dinks paper; Ranger, Stampin' Up and Tsukineko inks; Marvy Uchida and Bic markers; Tim Holtz jump ring and paper clip; ribbons from my stash.

If you don't have any Shrinky Dinks paper on hand, you can try using #6 plastic - I found this post via Pinterest!  Let me know if it works - what a great upcycling project for kids, right?

Thursday, September 15, 2011

myStamp BOX Tutorial Day!

Today, I shared a tutorial on the myStamp BOX blog on how to create this card box, which would make a great hostess or teacher gift:


Supplies used:  Bazzill Basic cardstock; Echo Park patterned paper; myStamp BOX stamps (Colorful Companions, Symbols, Border Lines, Itty Bittys); Tsukineko and Stamp Crafts inks; Ranger embossing powder; Marvy Uchida pen; Glue Dots; Martha Stewart Crafts scoring board and punch; Nestabilities die; The Twinery twine. 

Click here for this step-by-step tutorial and visit the rest of the blog to view some more great inspiration from my design teammates!

Sunday, May 22, 2011

Baby Needs a New Home...

Maybe something like this?

I actually like the turquoise one better... but for $184.00 USD?  Plus shipping/handling?  Well, I think I'd rather put the money towards a new 50mm f/1.4 lens...

What do you have for a camera bag?  I have a Slingshot 100 right now:


I love it, but quite honestly, I hate lugging it to parties and weddings because it's so "tech-y" looking...

Then while surfing I came across this on the Jen and Steve dot Com site:


LOVE IT!! And am so going to search for a purse to make my own...

The above site gives a tutorial but I found more detailed tutorials here and here...

Now to find a colour... Maybe RED like this one!!


Better get crackin'... my baby's supposed to be here next week!!

Thursday, May 19, 2011

Scented Embossing Powder Video Tutorial

Today, my very first video tutorial revealed on the myStamp BOX blog!

It's actually a first on two counts - my first video tutorial AND the first video tutorial that has been featured on the myStamp BOX blog!  It's on creating scented embossing powders - perfect for adding a fun "scratch & sniff" element on your projects!

It was actually pretty fun - despite the fact that I sound kinda dorky! :)  Big props to my hubby - he used to have his own videography business so he knows all about great angles and editing and continuity, etc.  Plus, he edited the whole thing together, once I had made the title graphics in Photoshop!

You can see my video here on the myStamp BOX blog, or on YouTube, under my username, sugarskyes. Here's the card I made, using the tutorial's finished product:


Supplies used:  Bazzill Basics cardstock; The Girls Paperie patterned paper and letter stickers, Martha Stewart Crafts border/corner punch; scented embossing powder (see above for link); Glue Dots; Maya Road trinket pin, miscellaneous ribbon.

Thanks for watching my video - and I'd love to hear your ideas on other video tutorials you'd like to see... maybe some photography ones??

Tuesday, February 08, 2011

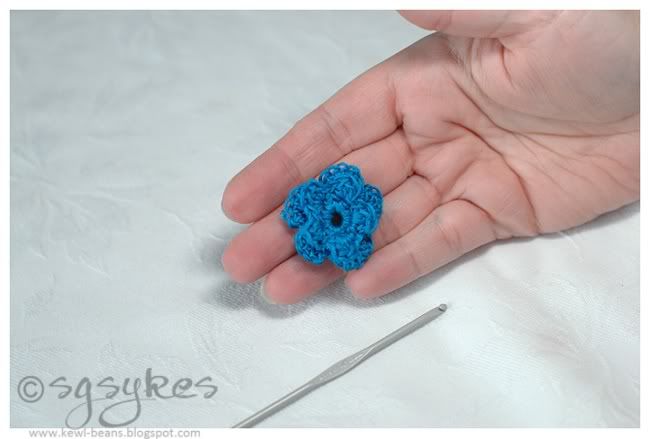
Tutorial: Crocheted Flowers

This weekend, I created a tutorial for the Love Songs crop at WeScrap.  Today I'm going to share it here with you. 

I'm going to show you how to crochet your own flowers to match your layouts. This is a quick and easy way to add customized embellishments to your layouts and cards for a fraction of the cost of those on the market today.


I borrowed a pattern from The Laughing Willow's blog and adapted it slightly to my liking. If you are unfamiliar with crocheting techniques, there are a lot of videos and tutorials out there on the various stitches. For our purposes, here's a legend of the pattern abbreviations used:
  • ch = chain
  • sl st = slip stitch
  • sc = single crochet
  • dc = double crochet
Okay, ready? Here we go!  To start, you'll need 1/2 skein of embroidery floss in any colour, a crochet hook (size US 2) and a pair of scissors.

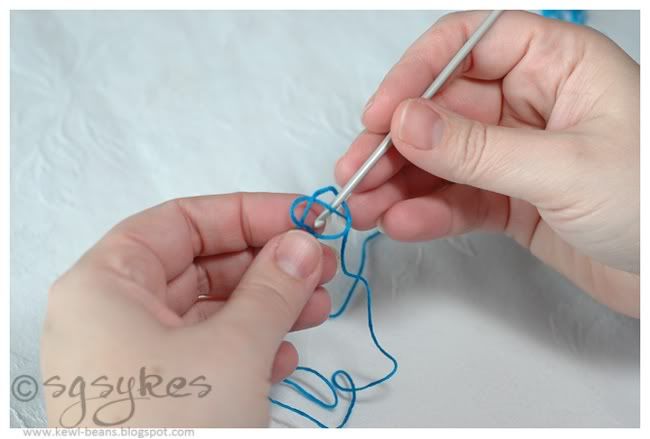
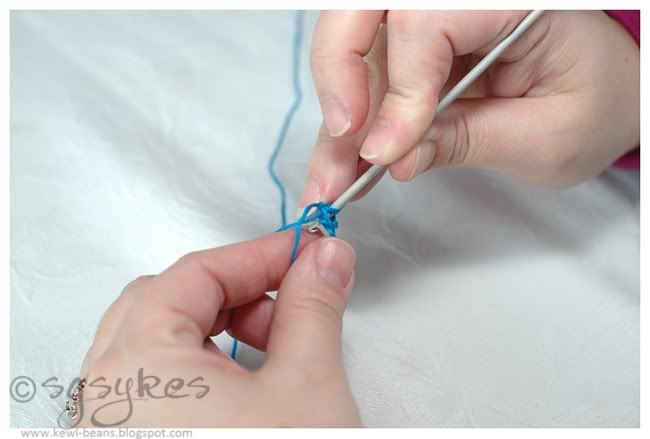
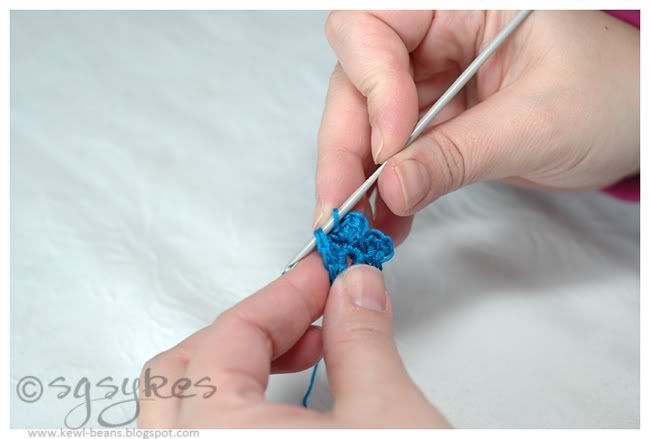
Step 1  - Start with a slip stitch:


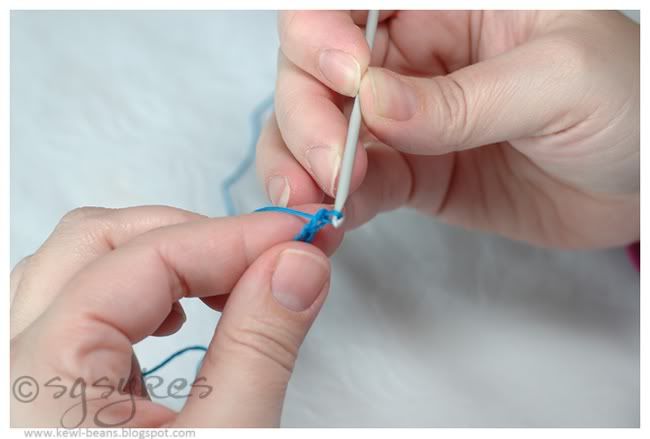
Step 2 - Ch 5:


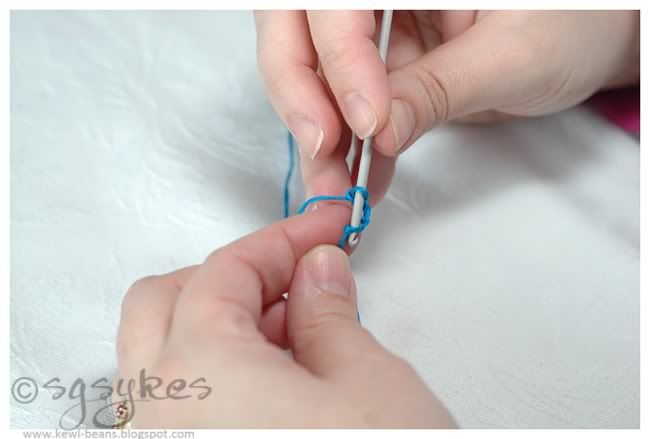
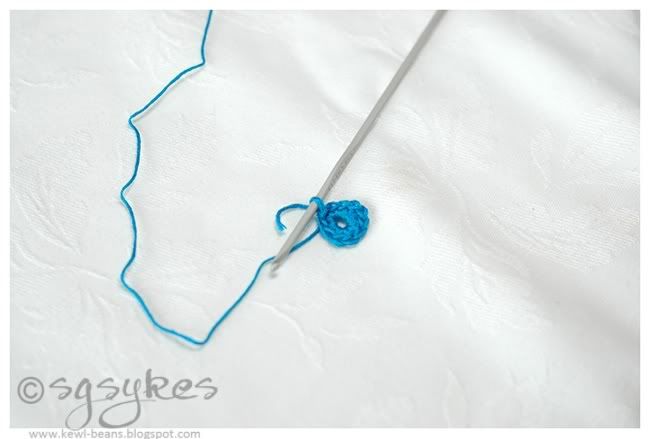
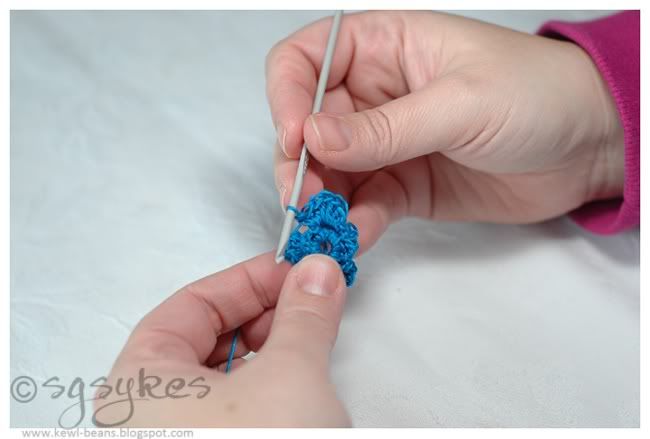
Step 3 - Sl st in first ch to make a ring:


Step 4  - Ch 10 in ring:


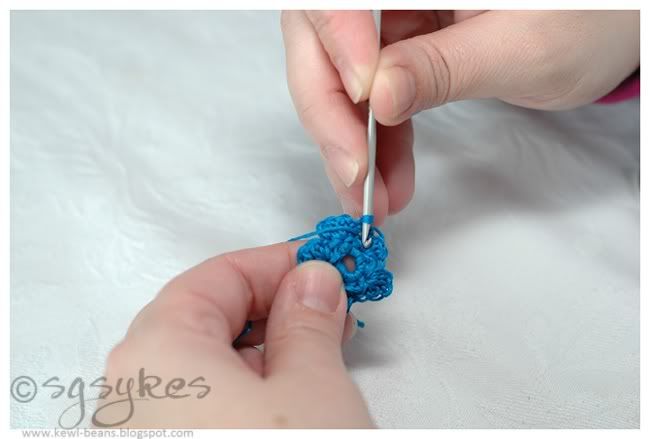
Step 5 - Join with sl st in first sc:


Step 6 - To create a petal, (sc, 3dc, sc) all in first sc:

Step 7 - Create four more petals by repeating the following: (skip ch, sc, 3dc, sc):

Step 8 - Join by sl st in first sc in the first petal:


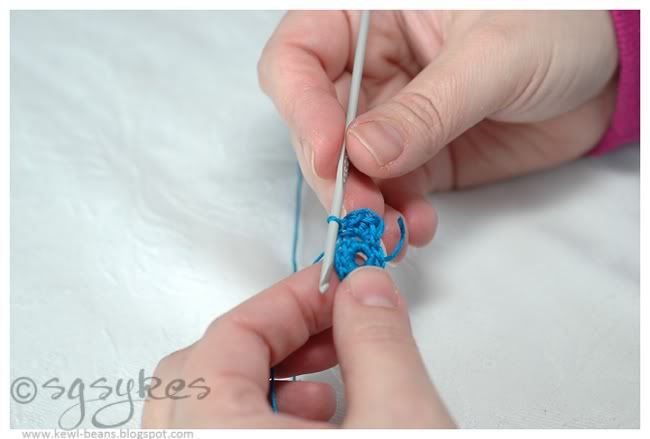
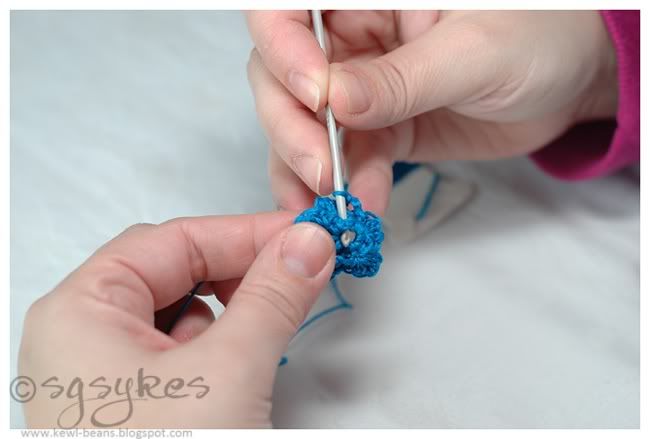
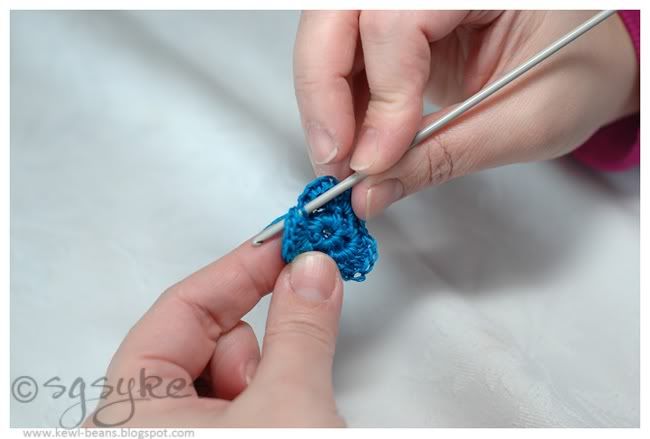
Step 9 - Now comes the tricky part. Flip your flower over and sc in the base of the first petal:


Step 10 - Ch 3 and sc in the base of the next petal:


Step 11 - Repeat 4 times until you have five loops. Sl st in first sc:


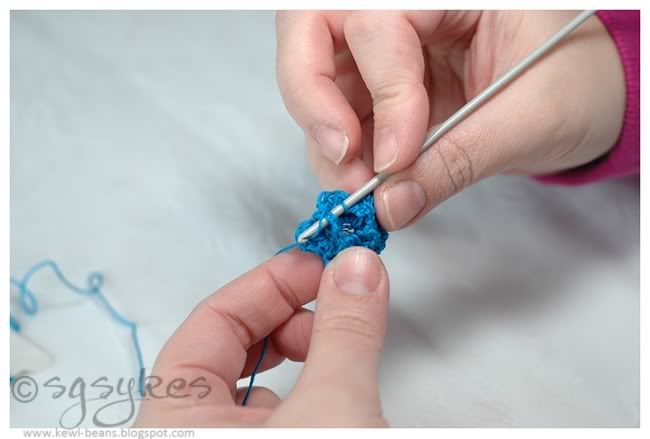
Step 12
To create a large petal, (sc, 5dc, sc) in first loop:


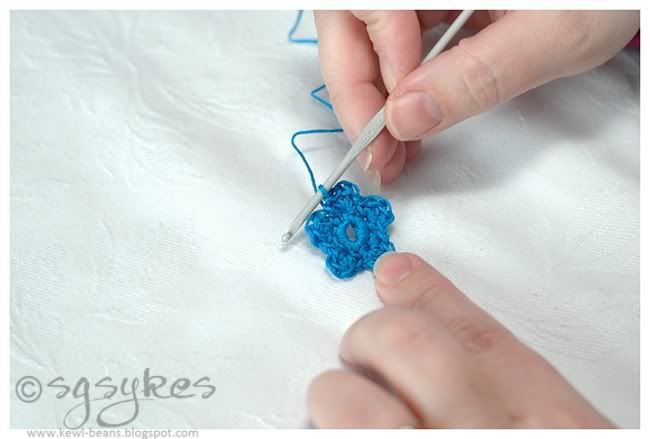
Step 13 - Create four more petals by repeating the following (sc, 5dc, sc in next loop) 4 times and sl st in first sc:


Step 14 - Finish off by snipping floss and drawing end through final loop to knot.


There are multiple variations on this: 

~ Experiment with different textures. I've used embroidery floss, but you can use yarn, cotton thread - even strips of thin fabric!

~ Lengthen your initial chain and begin with ch 14 (or more) to create bigger flowers.

~ Change your floss after Step 8 to create a two-toned flower. You can finish off your flower after Step 8, to create smaller flowers.

Have Fun!

Saturday, June 05, 2010

Baby's Got Blue Eyes


Doesn't this just make you want to run out and buy a Weinmaraner??

And for the record, it's VYE-ma-rah-ner...

Not ween-MARE-ah-ner, as some have been known to say. (#guiltyascharged)

Heading to Holly's shortly - Connor's coming along to attend her son's birthday and hang with him while we scrapbook tonight, and then tomorrow... it's our Swatches class with Donna Downey at Stamping Bella! And I'm looking forward not only to seeing Holly again, but to hopefully hook up with some friends from ScrapFest, Jennifer, Dorrie and Karen!!

By the way, be sure to check out Jennifer's blog for the following flower tutorials:

Glass Flowers
3D Paper Flowers

I'll be back tomorrow night with photos and details from our workshop! Have a great weekend!

Happy Saturday! :)
Related Posts Plugin for WordPress, Blogger...